
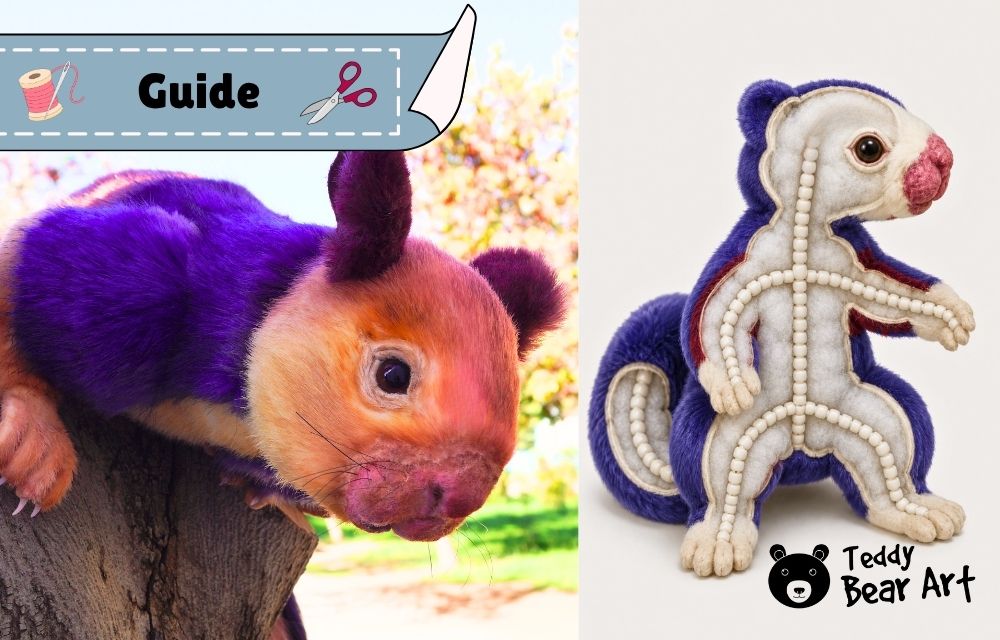

If you want your plush to bend, pose, or hold its shape better, it helps to learn how to insert armature into stuffed animals. In this guide, I will show the method I used for my stuffed animal Ratufa squirrel, from padding the Lock Line doll armature to securing it inside the head and placing it into the body.
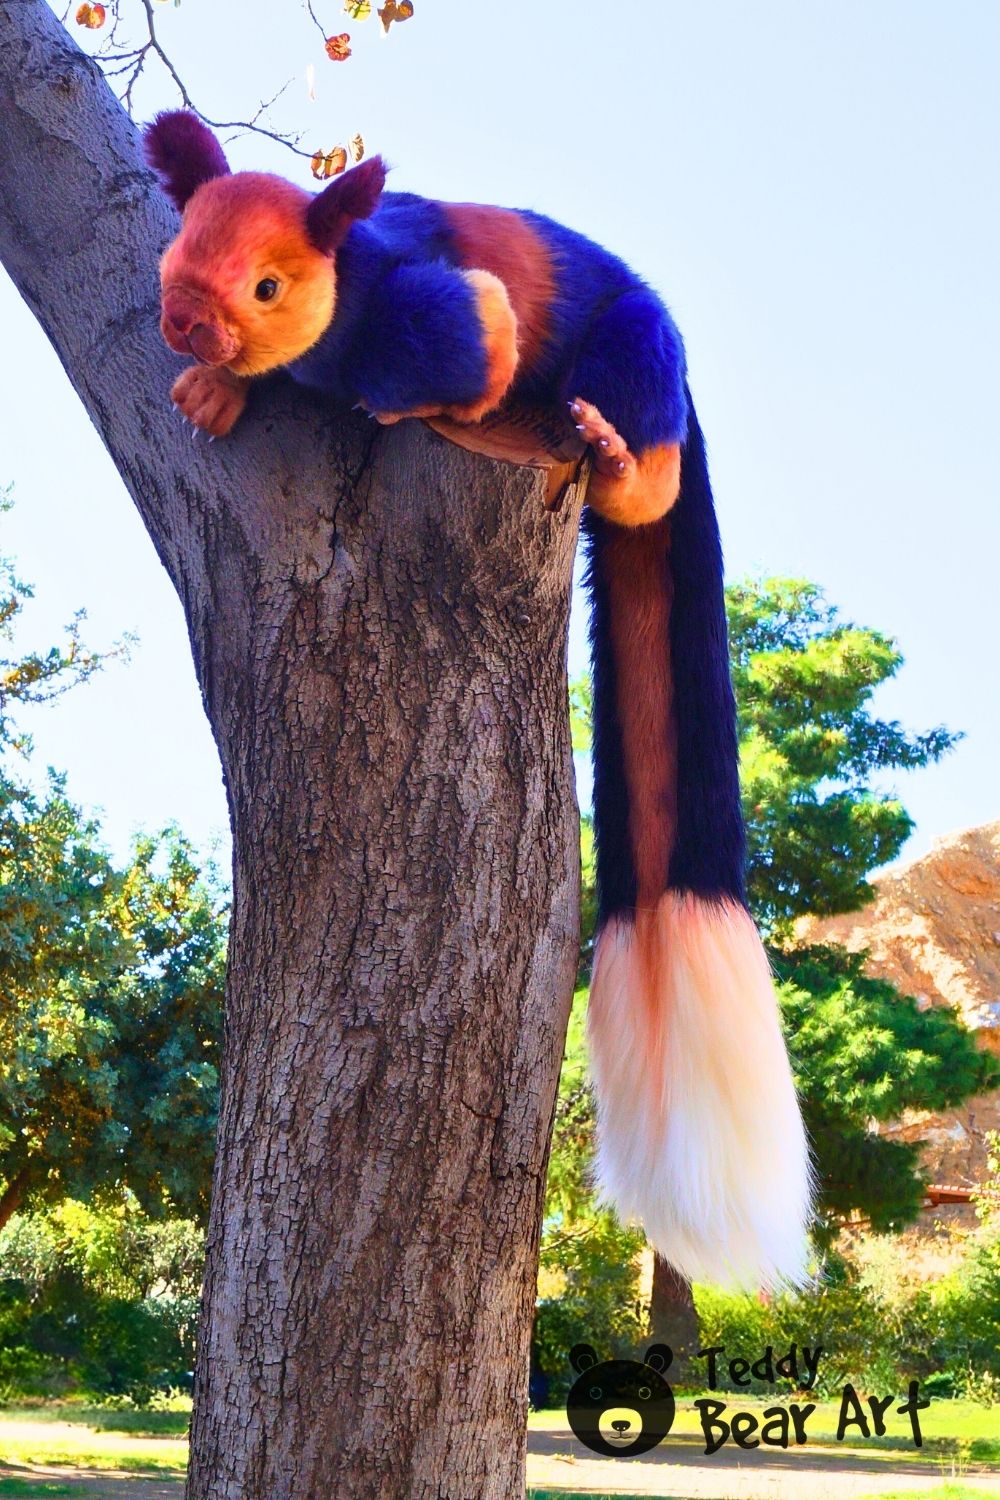
This method gave my squirrel a more flexible body and helped it hold natural poses.
You can also watch my short video below. It covers the basics of Lock Line doll armature, the tool used with it, and how to connect and disconnect the individual pieces.
How to Use Plastic Doll Armature | X & Y Connectors Explained
What You Need
- Lock Line doll armature
- pliers for this armature (like in my video)
- polyester batting
- strong sewing thread
- hand sewing needle
- scissors
- a small circle with a hole in the center, made from felt, fleece, or another firm fabric
- a sewn head
- an unstuffed sewn body
How to Prepare the Armature
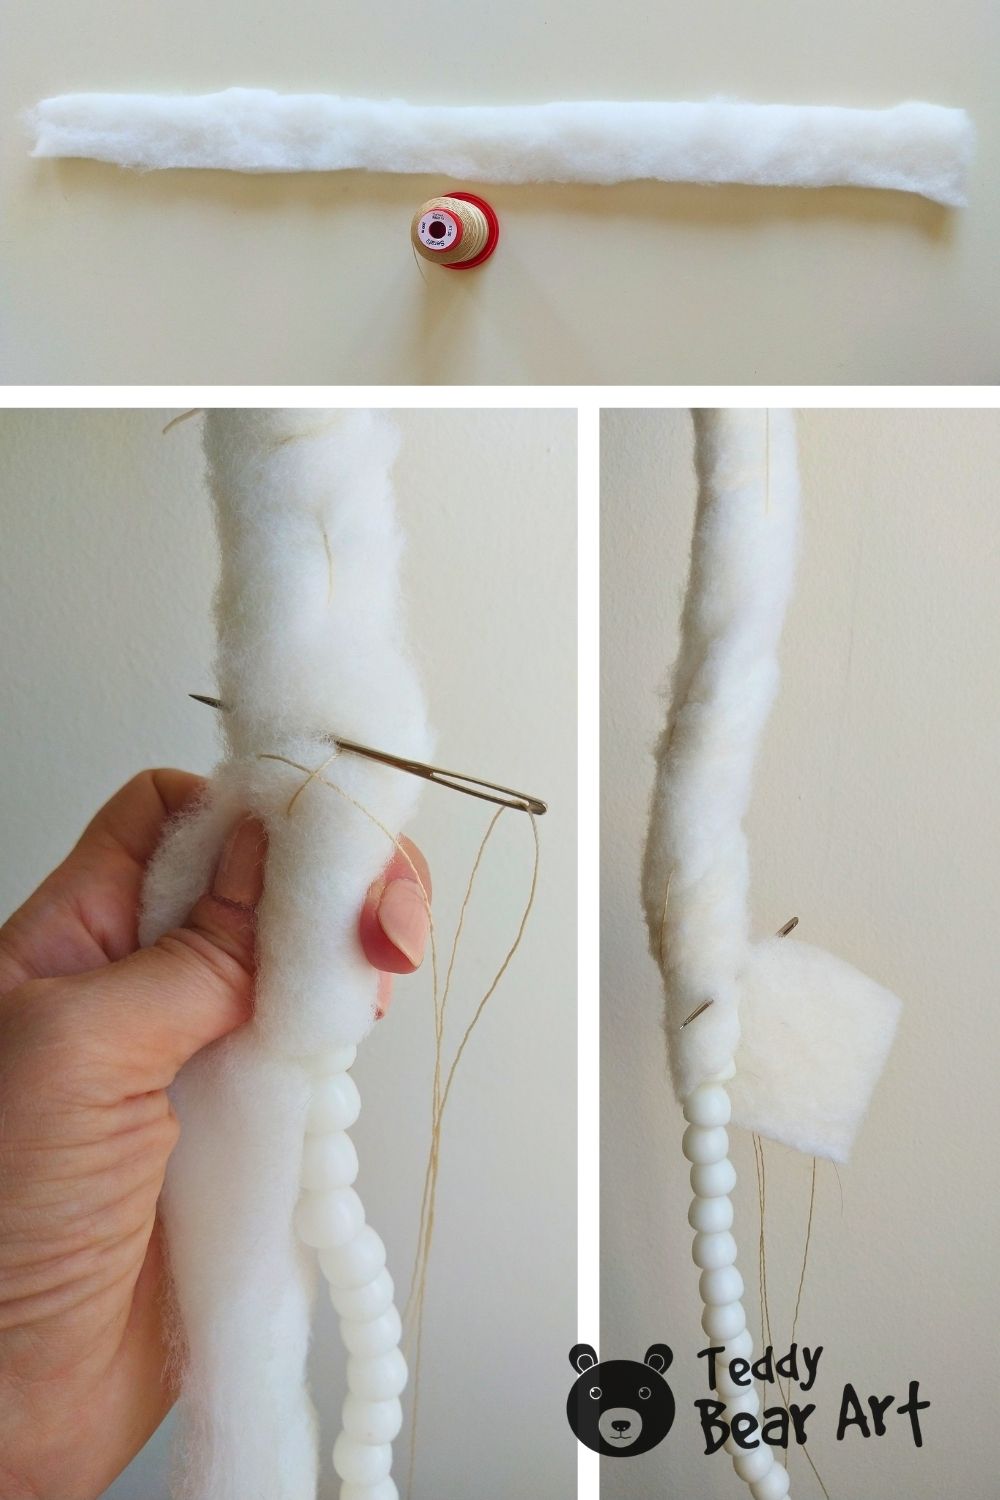
Before placing the armature inside the toy, cover it with polyester batting.
Cut a long strip of batting and begin wrapping it around the armature. Secure the batting with strong thread as you wrap. This keeps the padding in place and makes the structure softer and easier to handle inside the toy.
You do not need a thick layer. The goal is simply to soften the plastic structure so it does not sit too close to the outer fabric.
Insert Armature Into Stuffed Animals
The head attachment starts before the head is stuffed.
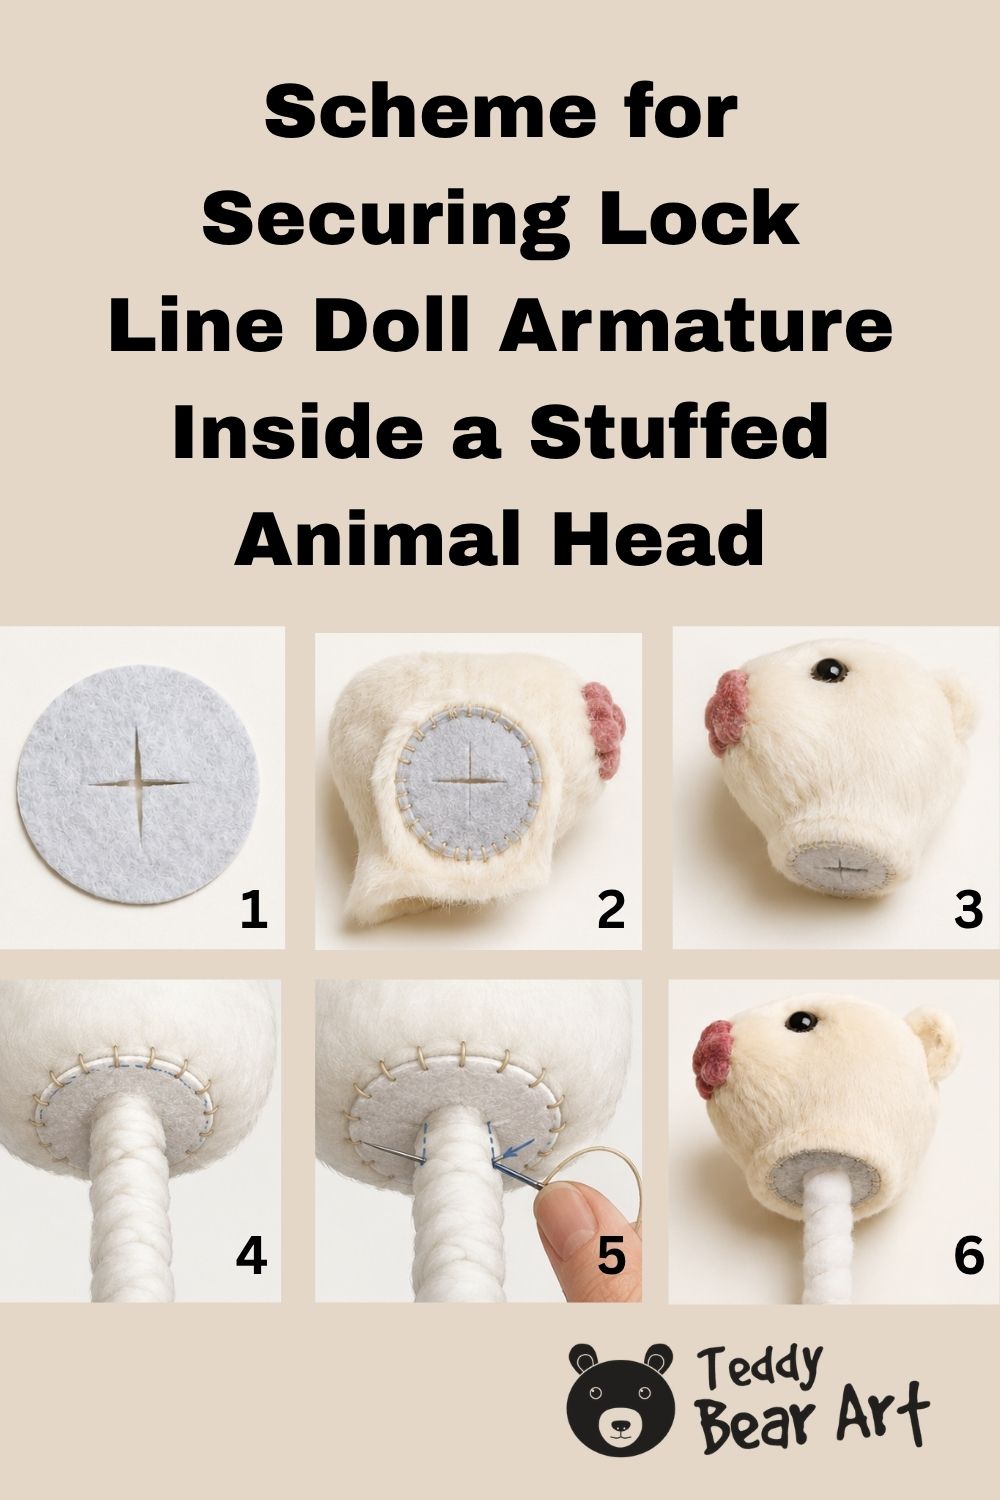
First, sew the small fabric circle to the neck opening while the head is still inside out. The cross-shaped cut in the center should be large enough for the padded armature to pass through later.
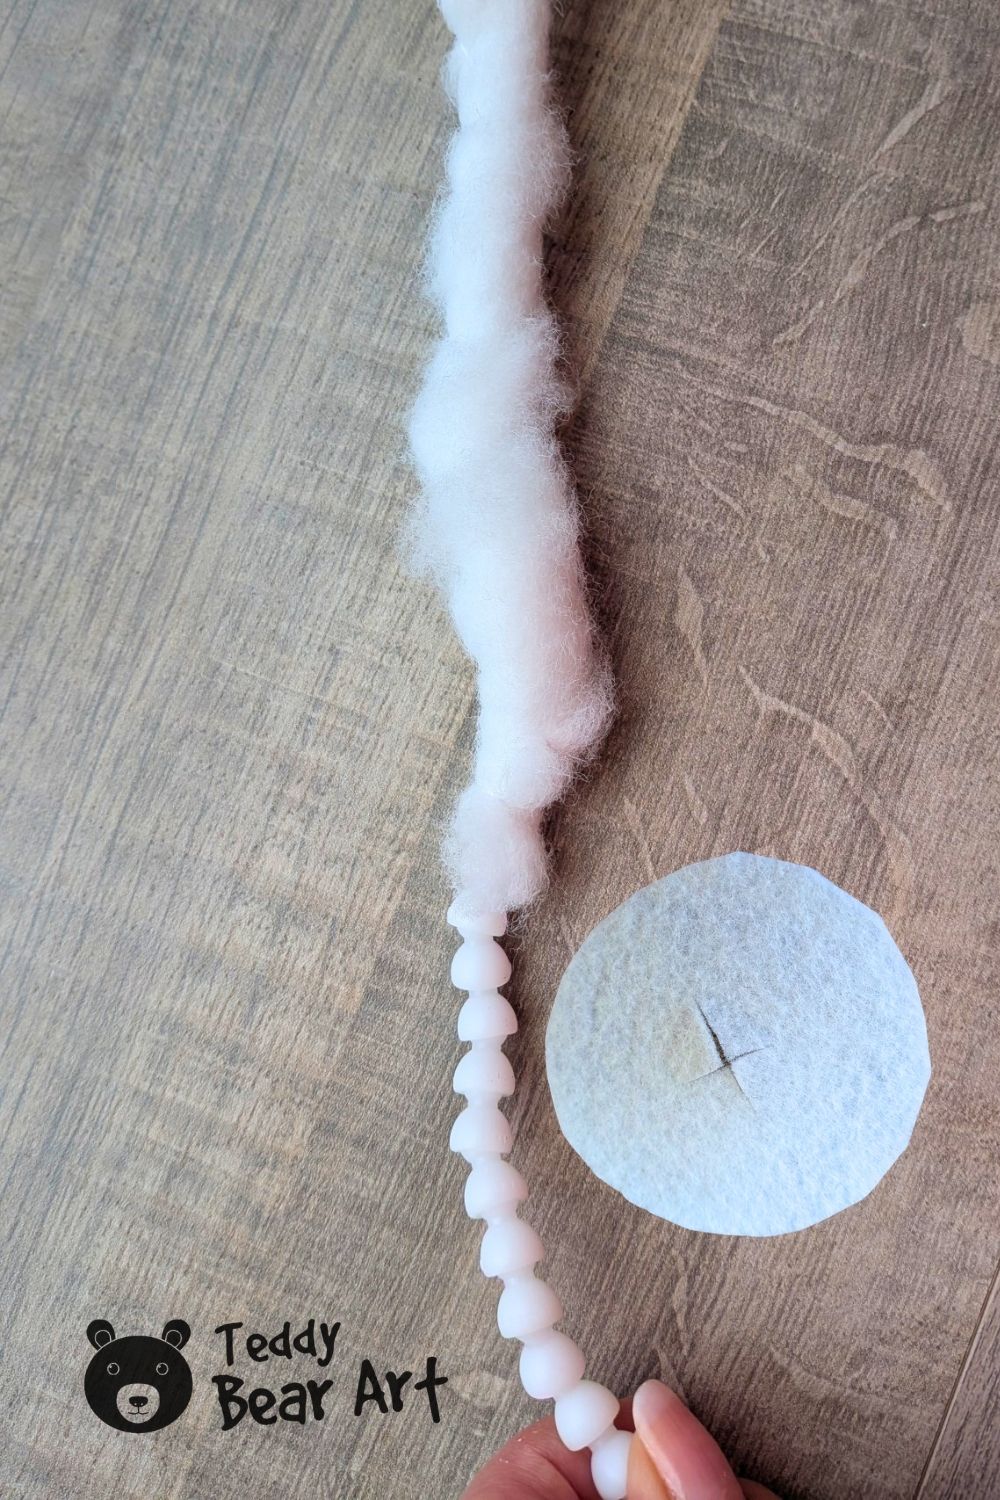
After that, turn the head right side out and stuff it firmly.
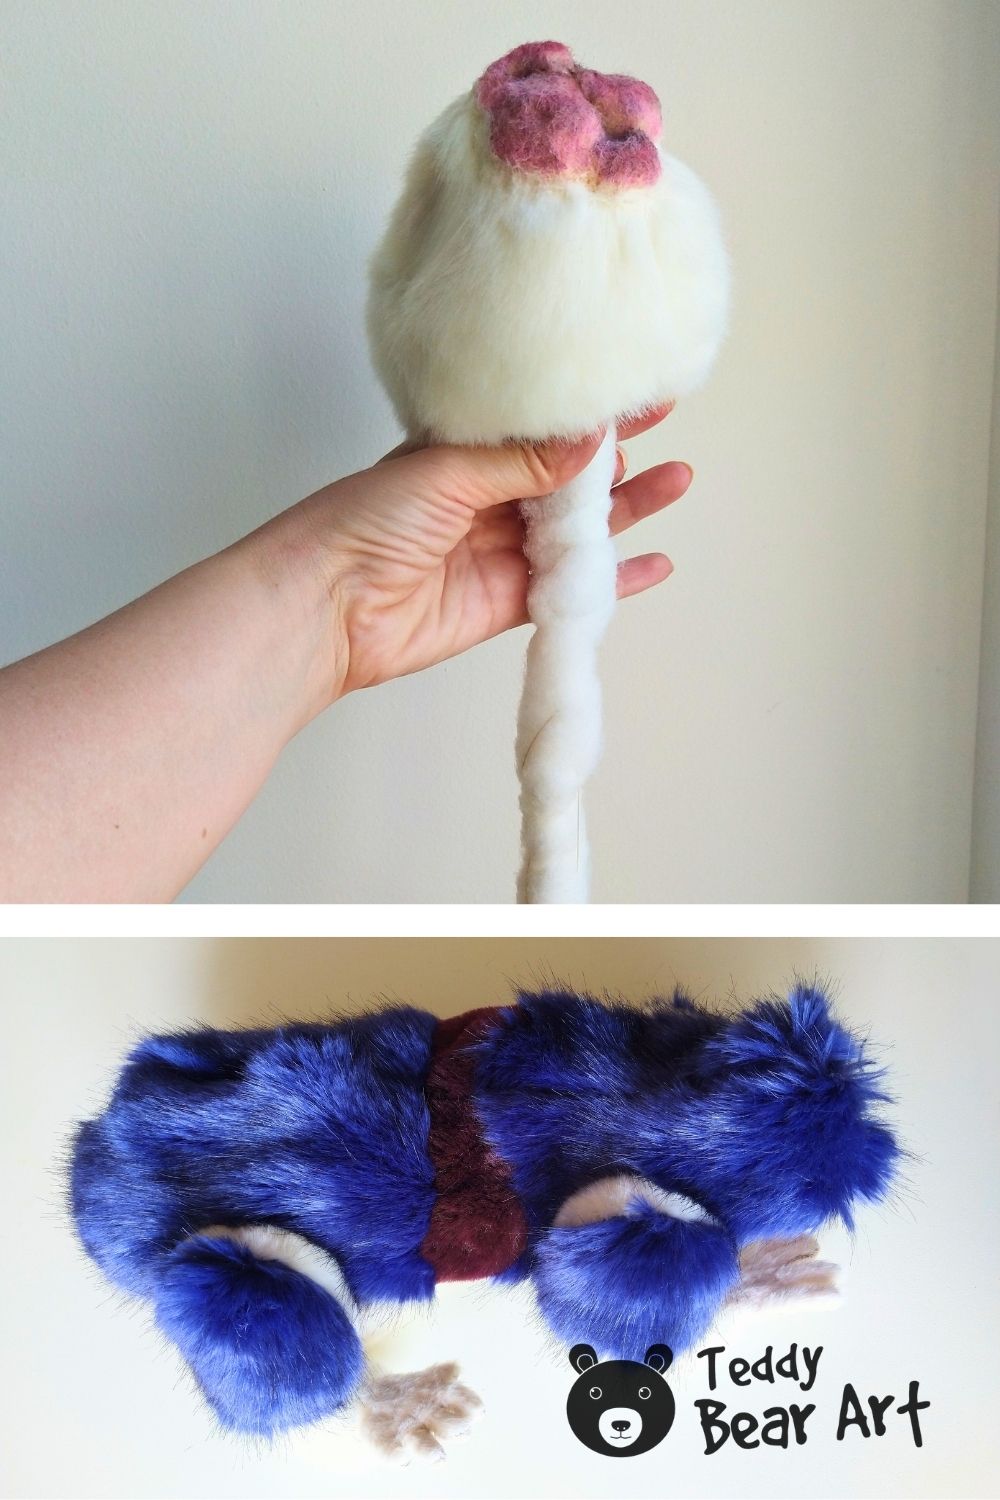
Once the head is ready, insert the upper end of the padded armature into the head through the neck opening.
Then place the head onto the armature.
The next step is securing the padded armature inside the head. This part is hidden inside the finished toy, so the scheme below shows the process more clearly.
After the armature is secured inside the head, insert the long padded section into the empty body.
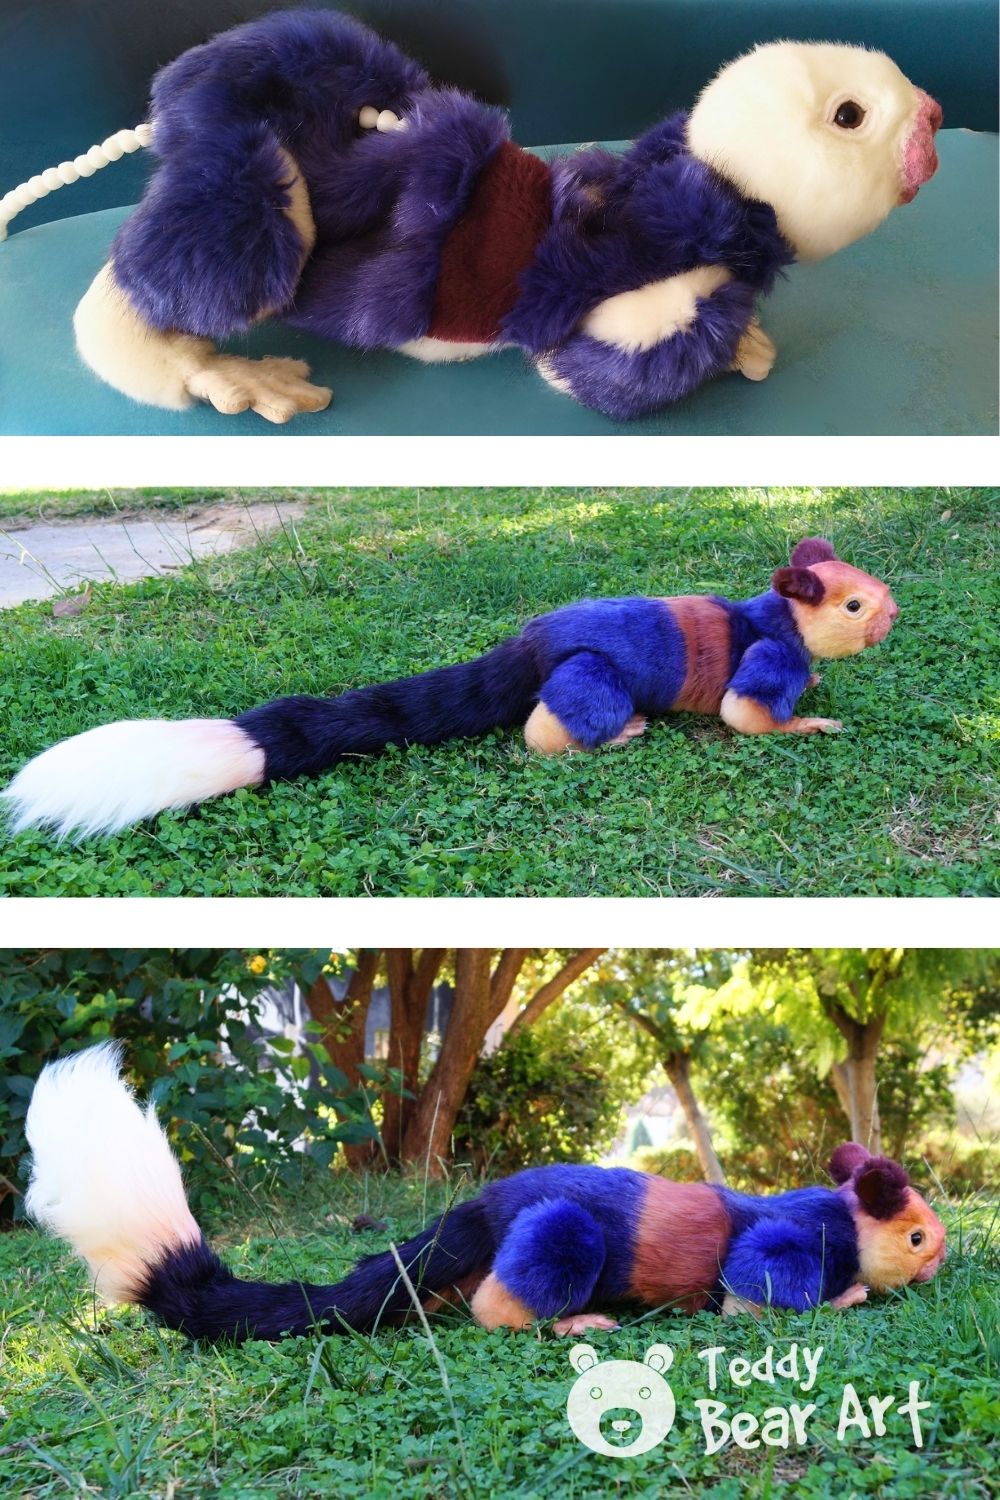
Position the head correctly and sew it to the body while the body is still unstuffed. This makes it easier to adjust the internal structure and keep it centered.
Once the head is attached, begin adding stuffing around the armature little by little. Spread the stuffing evenly so the structure stays balanced inside the body.
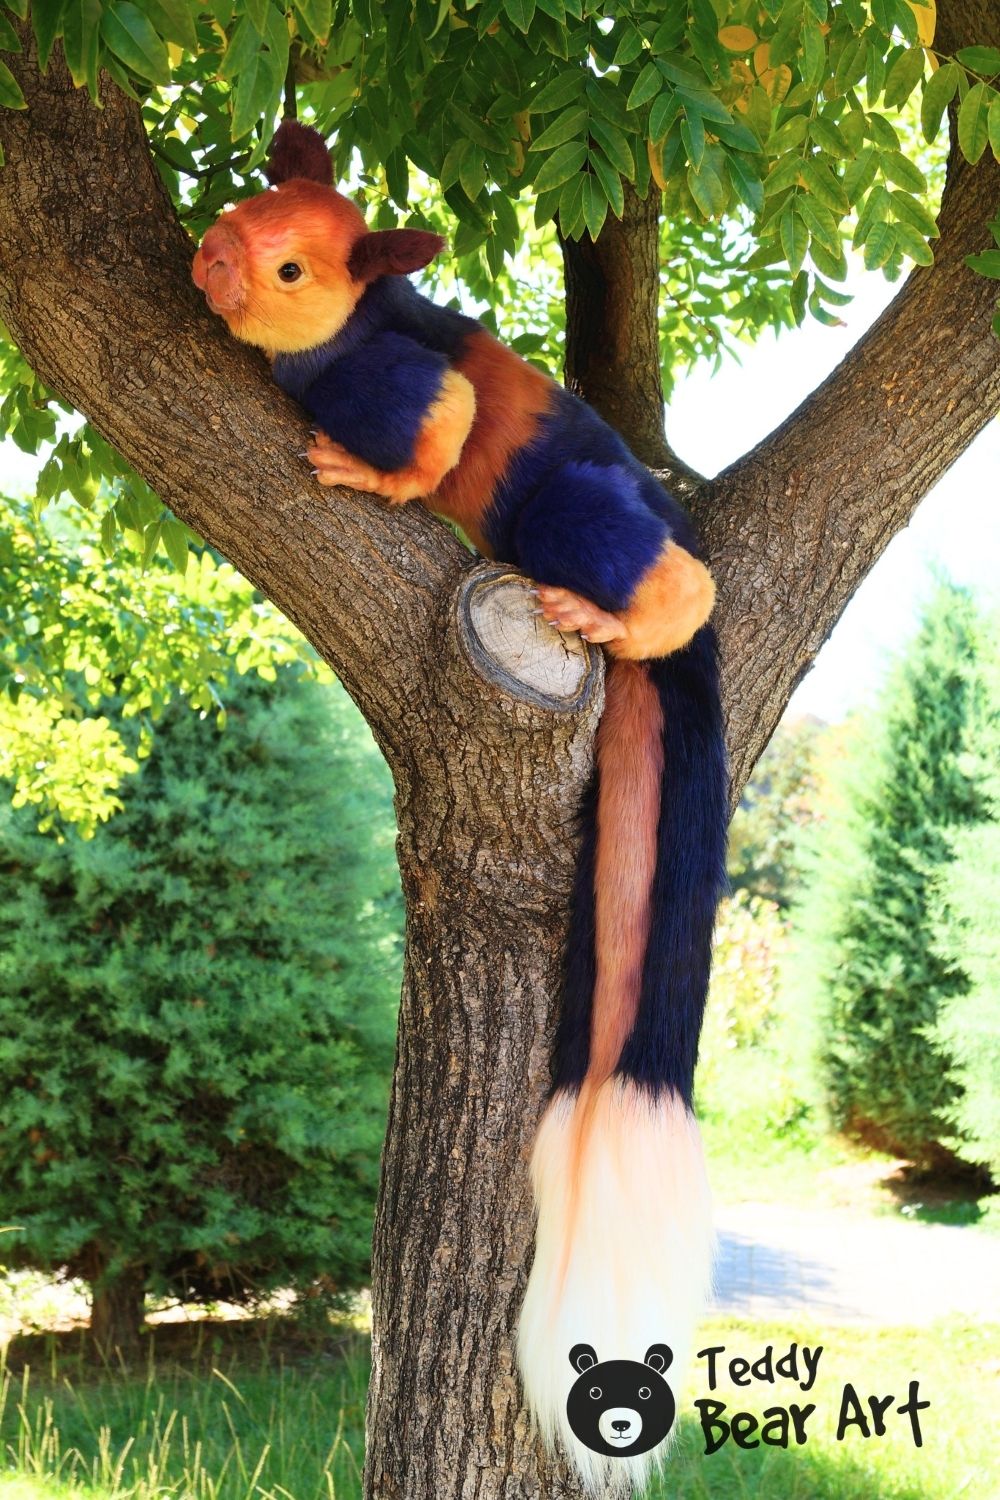
My Ratufa squirrel has traditional joints in the limbs, so in this particular project the armature does not extend into all four legs.
If you want to make a fully poseable stuffed animal, you can build a larger internal structure that continues from the torso into the front and back limbs. The same idea applies: shape the armature first, pad it, insert it into the sewn toy, and surround it with stuffing.

Before You Go
Keep the padding even around the armature, especially in areas that may bend more often.
Check the position of the armature before fully stuffing and closing the body.
The basic order is simple: prepare and pad the armature, sew the neck circle into the unstuffed head, turn and stuff the head, insert and secure the armature, place the structure inside the body, sew the head to the body, and then finish stuffing.
If you want to continue with the construction details, see my guide on how to stuff a teddy bear for a smooth shape and my tutorial on making jointed teddy bear limbs with discs and cotter pins.
Get Free Patterns & Be the First to Know!
Want free teddy bear patterns, exclusive tutorials, and a chance to win craft supplies?
Sign up for our newsletter using the subscribe form in the middle of this article to receive new patterns, insider tips, and the latest news on teddy bear art. You’ll also automatically be entered into our annual giveaway for a chance to win teddy bear crafting materials.
Bonus entry: Save one of our pins on Pinterest to increase your chances of winning!
Let’s create, inspire, and craft beautiful teddy bears together!
I’ve always wondered how artists get stuffed animals to hold more natural poses, and now I finally understand how the armature works. I’m still fairly new to toy making, so this is probably a technique I would try only after getting a little more experience, but your explanation makes it feel much less intimidating.
Thank you! Armature can seem a little complicated at first, but once you understand the basic idea, it becomes much easier. I’d definitely recommend getting comfortable with simple toy construction first and then trying it when you feel ready.