
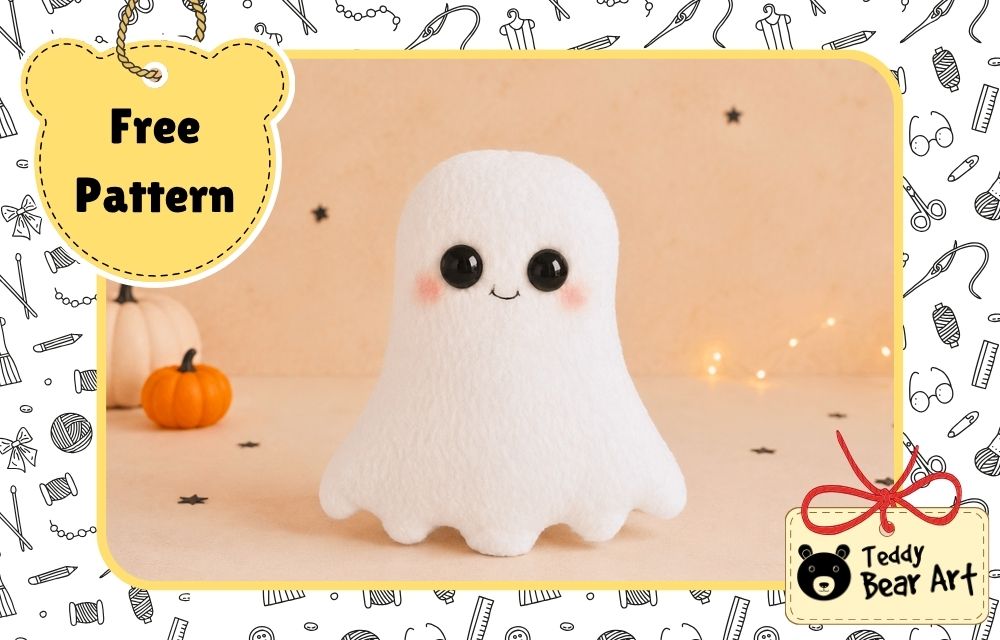

This ghost plushie sewing pattern is the simplest and cutest DIY Halloween project for beginners. You only need soft white fabric, stuffing, the eyes, and very little time to make this sweet ghost plush for seasonal decor, gifts, or your handmade Halloween collection.
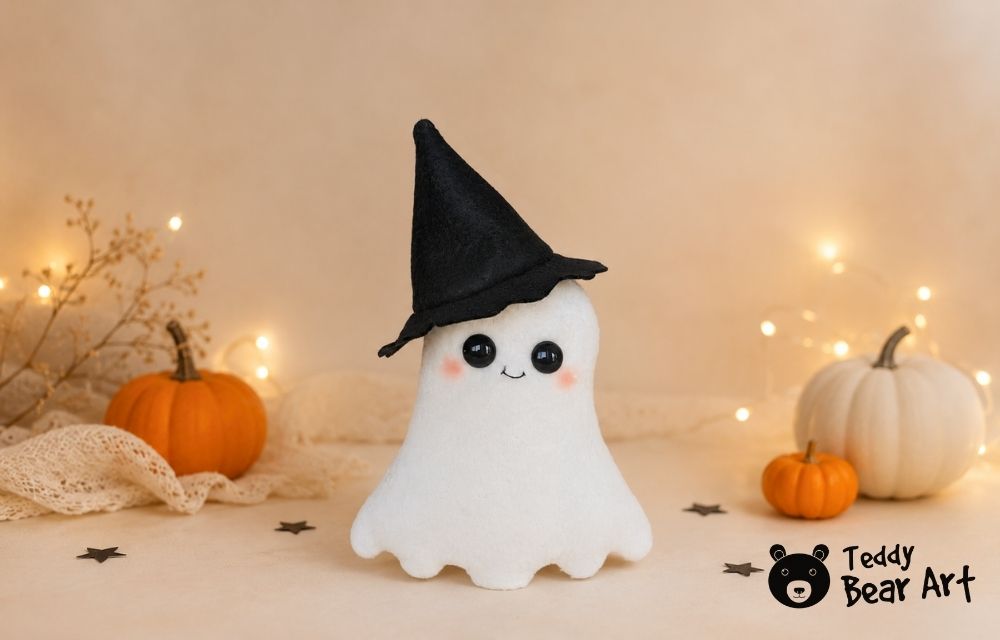
I made this ghost very simple on purpose. No complicated pieces, no tiny arms, no difficult shaping. Just a soft, rounded ghost body with a wavy bottom and a friendly little face.
Download The Pattern
Notice that seam allowances are not included. For this project, it is fine to include 5 mm for seam allowances.
To download the pattern, follow the instructions below:
From a phone or tablet: There should be a similar option for mobile devices with Android or iOS. Click on the image. Save it by holding your finger on the image and selecting the “Save Image” option. Then, go to your photo gallery and print it (an option available).
From a computer: Click on the photo of the pattern you see below. In the new tab that will open, you press the right mouse button and select the “Save image as …” option. Then, you choose where the image will be saved on your computer.
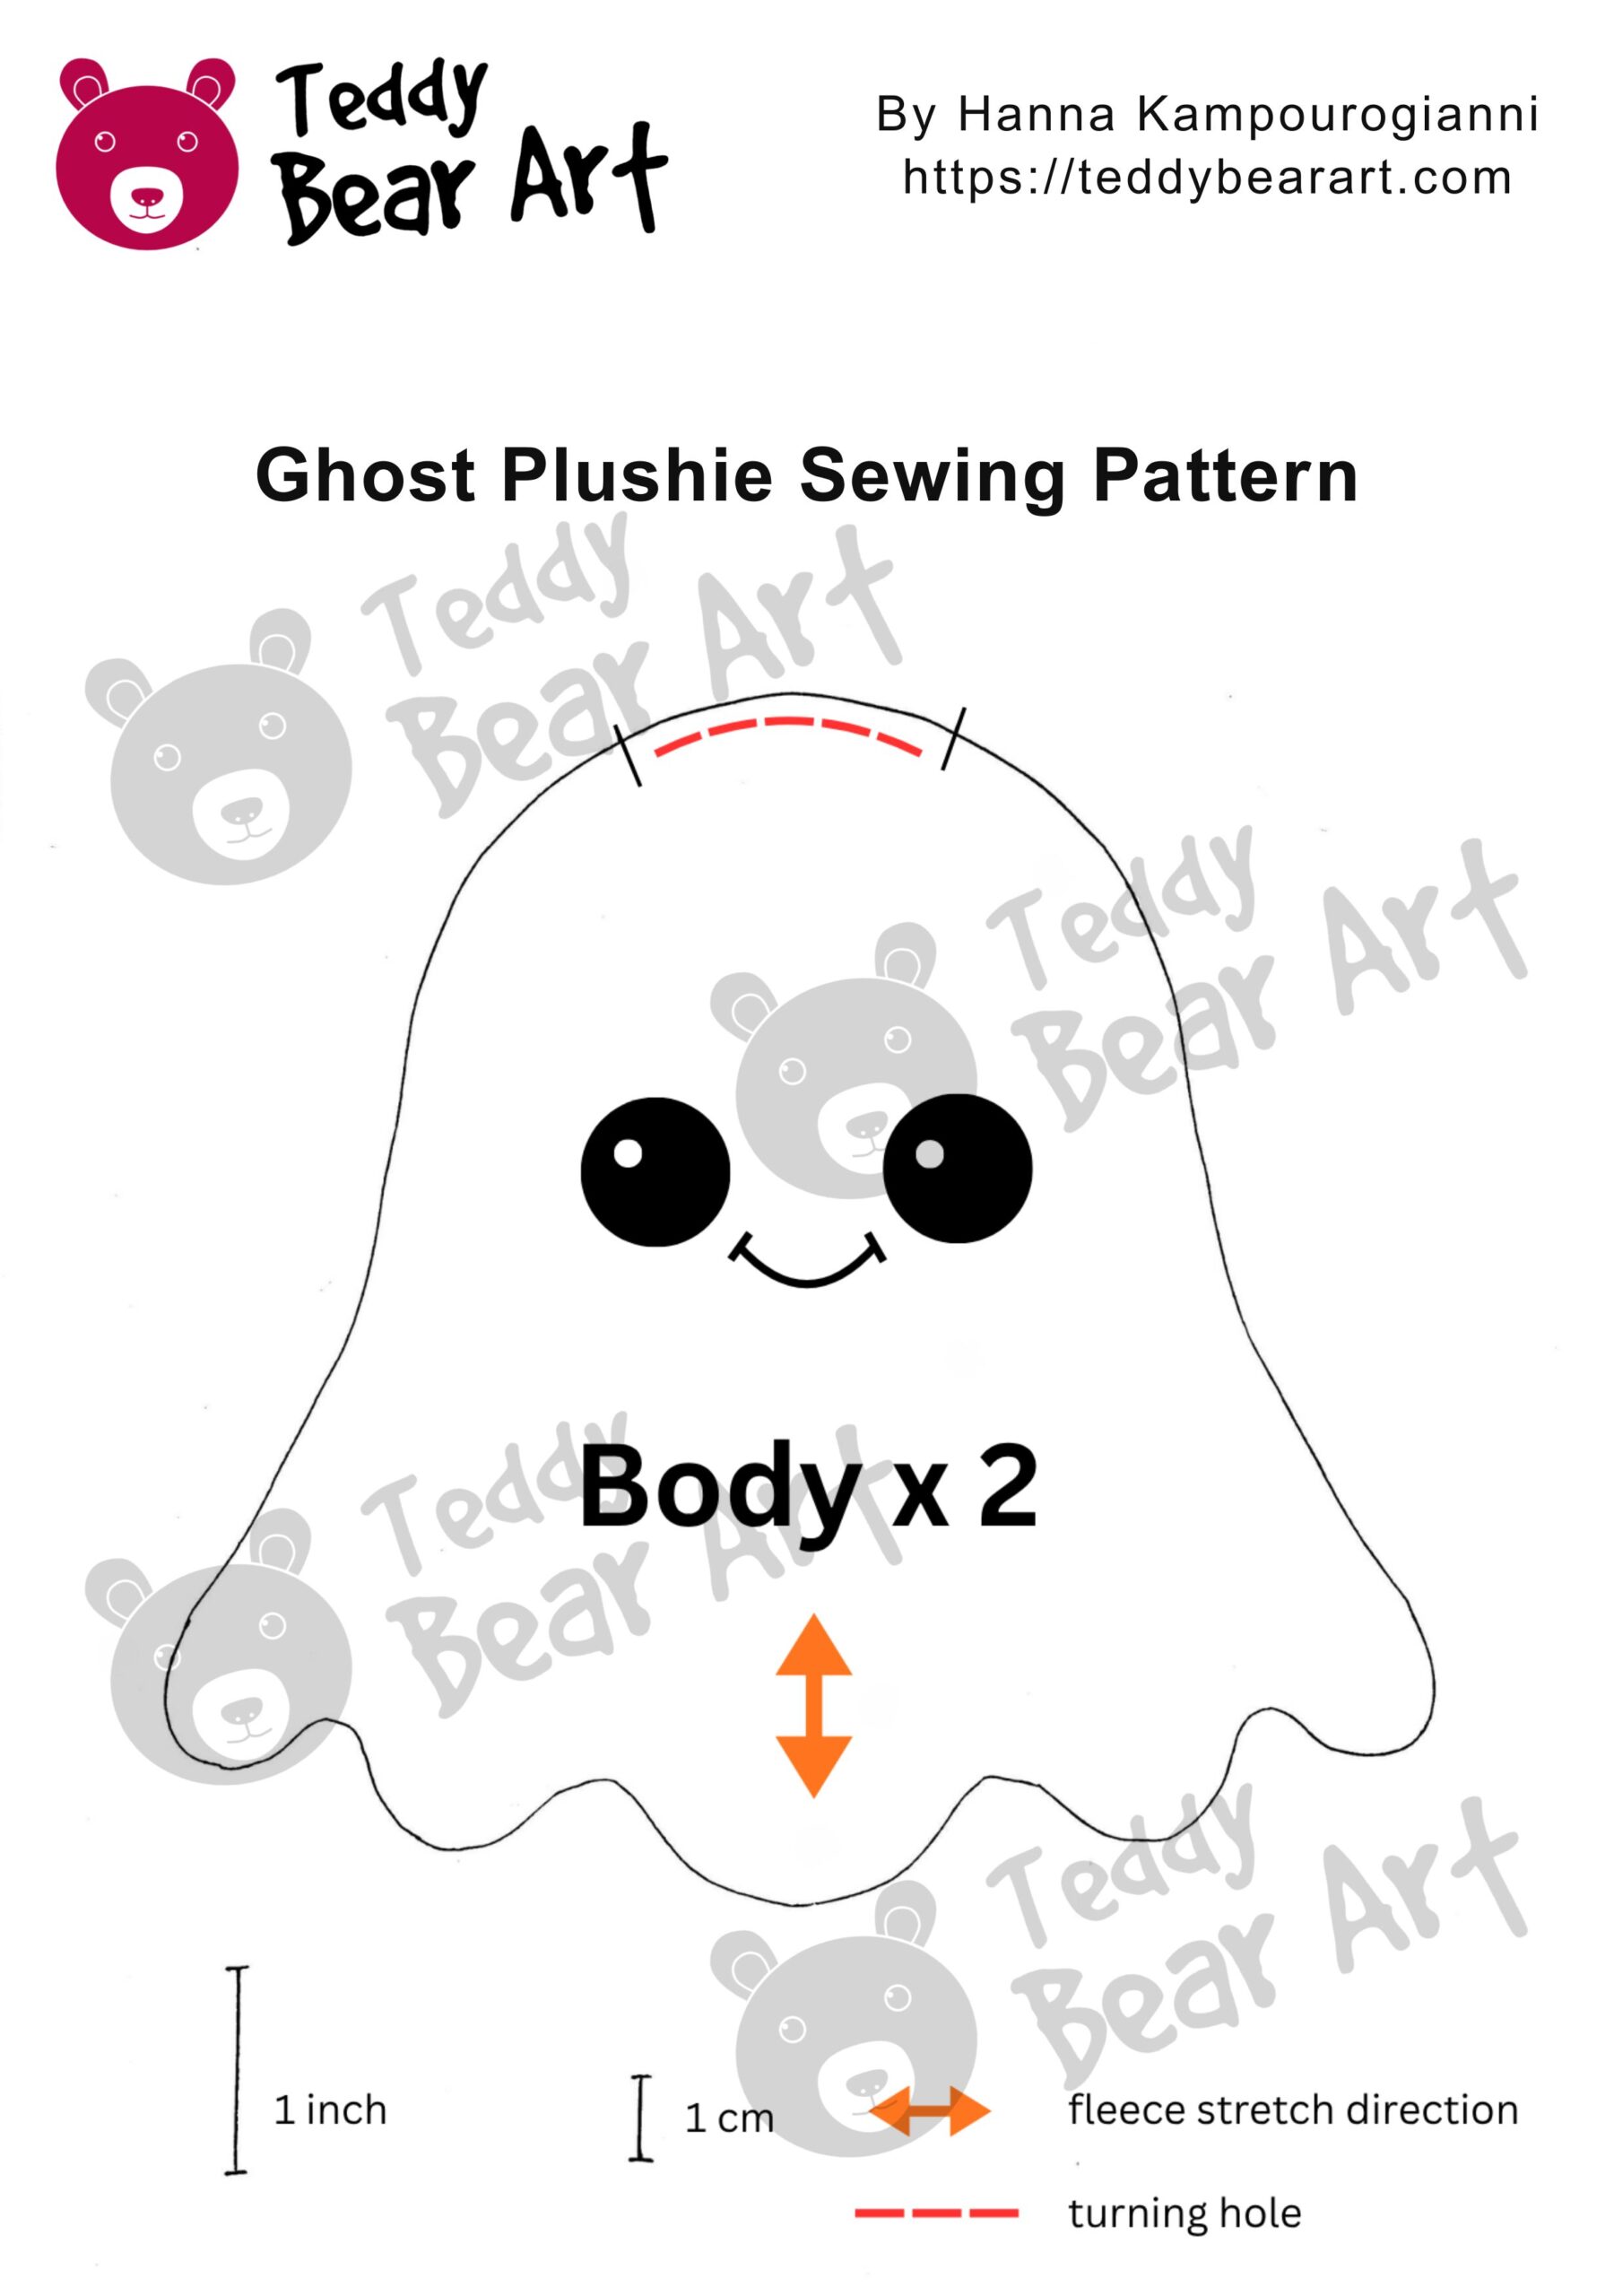
Want to make this ghost plushie bigger or smaller? See how to resize a plush sewing pattern and adjust the pattern before cutting your fleece.
Materials You Will Need
- White fleece or soft plush fabric
- Black eyes, beads, or embroidery thread
- Pink blush or soft pastel
- Fiberfill stuffing
- Needle and threads
- Scissors
How To Sew A Cute Ghost Plushie
Fold your white fabric with the right sides together. Place the ghost pattern on top and trace around it.
Sew around the traced ghost shape. Leave a small opening on top.
Go slowly around the curves. The bottom waves are small, so don’t rush there.
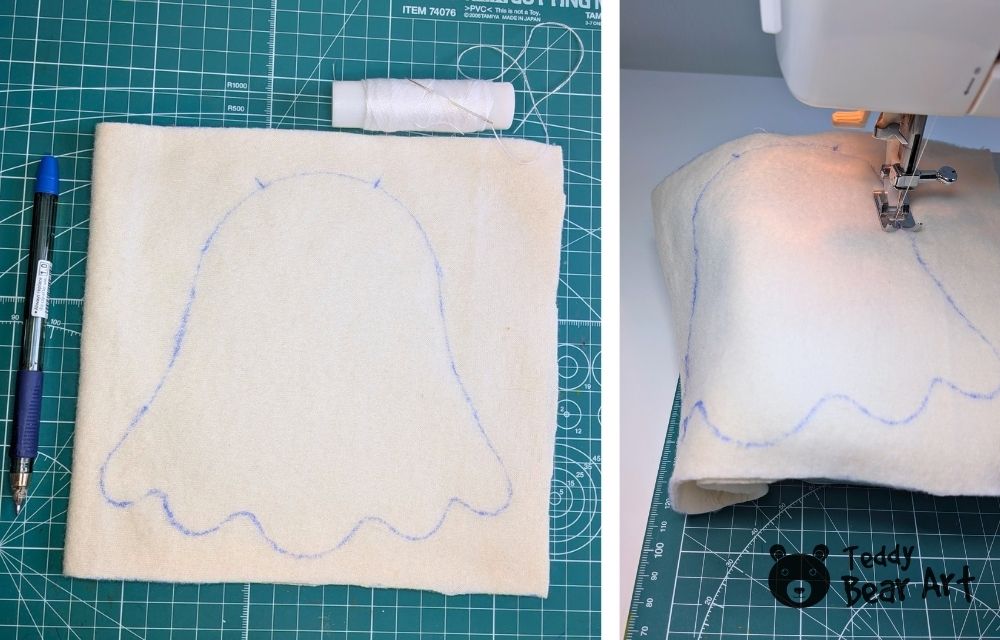
Cut around the stitched shape, leaving a small seam allowance.
Clip the curves and make small notches around the wavy bottom. This helps the ghost turn nicely and keeps the lower edge from looking bulky.
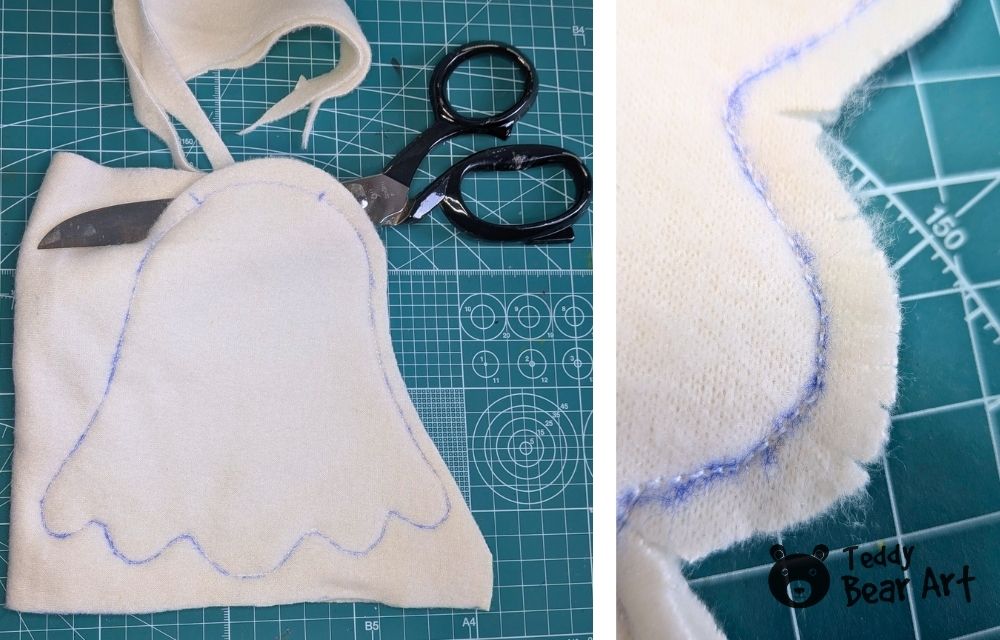
Turn the ghost right side out through the opening.
Use a wooden stick to gently push out the head, sides, and bottom waves. Don’t press too hard; shape the fabric little by little.
Add fiberfill in small pieces.
Use the wooden stick to guide the stuffing into the curves. The ghost should feel soft and full, but not hard.
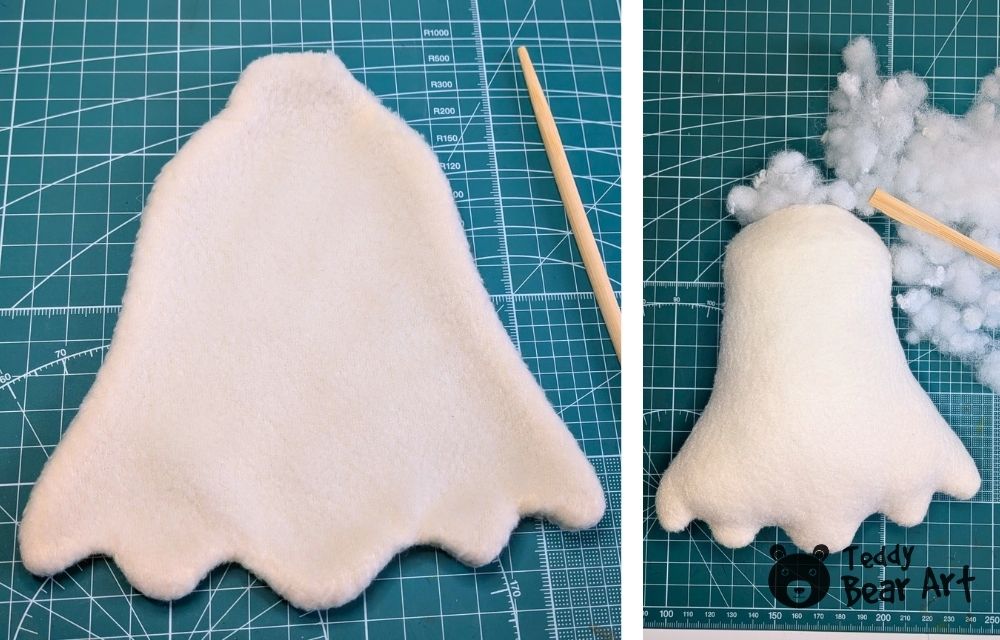
Fold the raw edges inside and close the opening by hand with a ladder stitch.
If this stitch is new to you, this invisible hand stitching guide is a helpful resource:
Add glass black eyes. You can use beads or embroidery as well.
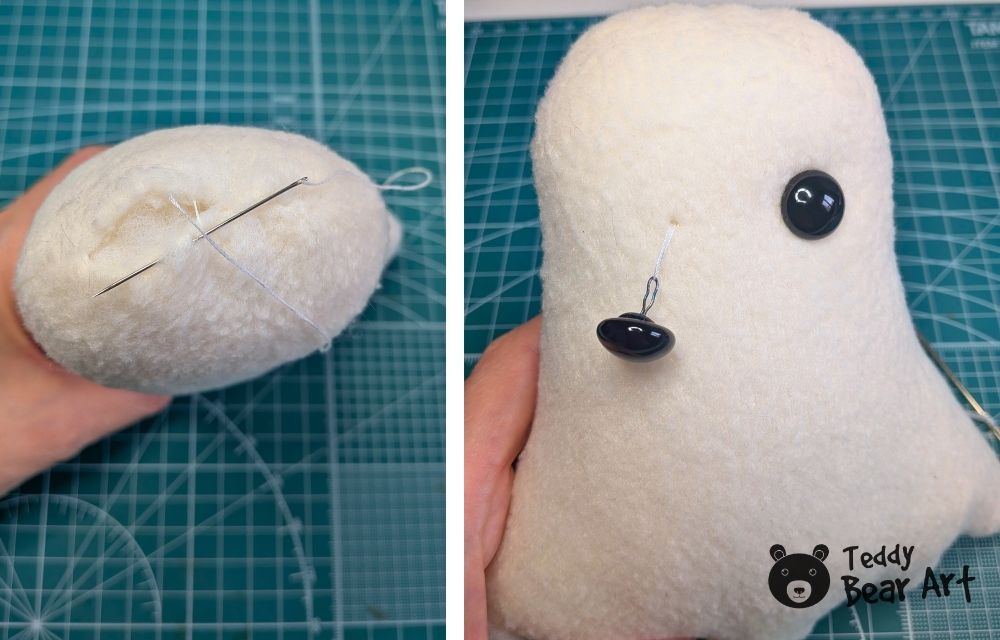
Then embroider a tiny smile with black thread. I kept the face very simple because that makes the ghost look soft, sweet, and a little kawaii.
Add a touch of pink blush to the cheeks. This tiny detail makes a big difference.
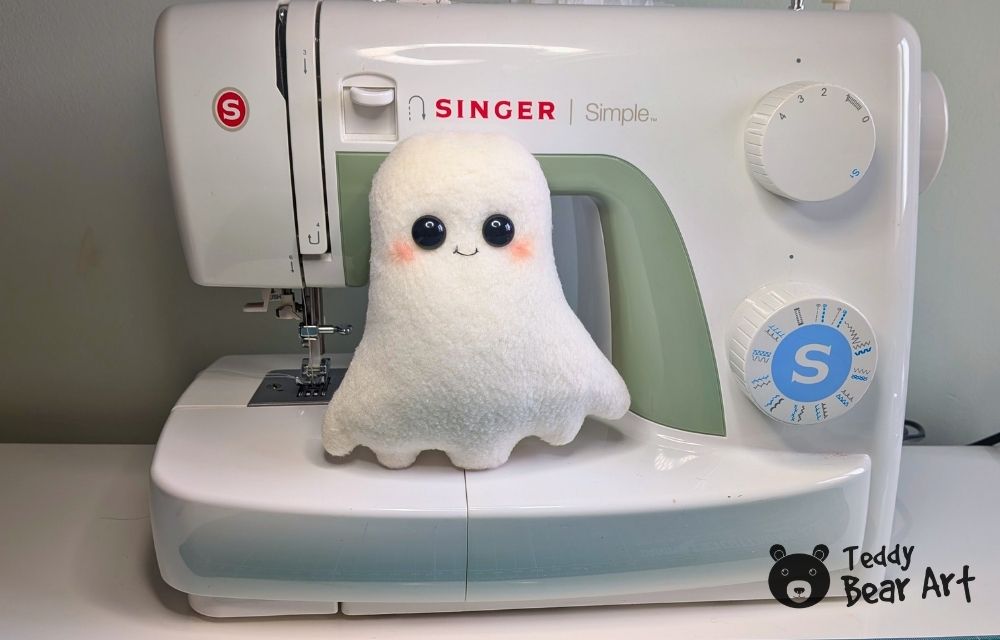
You can leave your ghost plain, or dress it up for Halloween.
A small black witch hat looks adorable on this ghost plush. You can also add a tiny orange scarf for a warmer autumn look.

Want to give your ghost plushie an extra magical Halloween look? You can make the tiny hat using my free mini wizard hat pattern for stuffed animals and place it on top for a cute seasonal touch.
Sew A Pumpkin Plush Too
If you want to make a cute Halloween set, sew a soft pumpkin plush to sit beside your ghost.
The ghost and pumpkin look lovely together on a shelf, craft table, Halloween display, or handmade market stand.
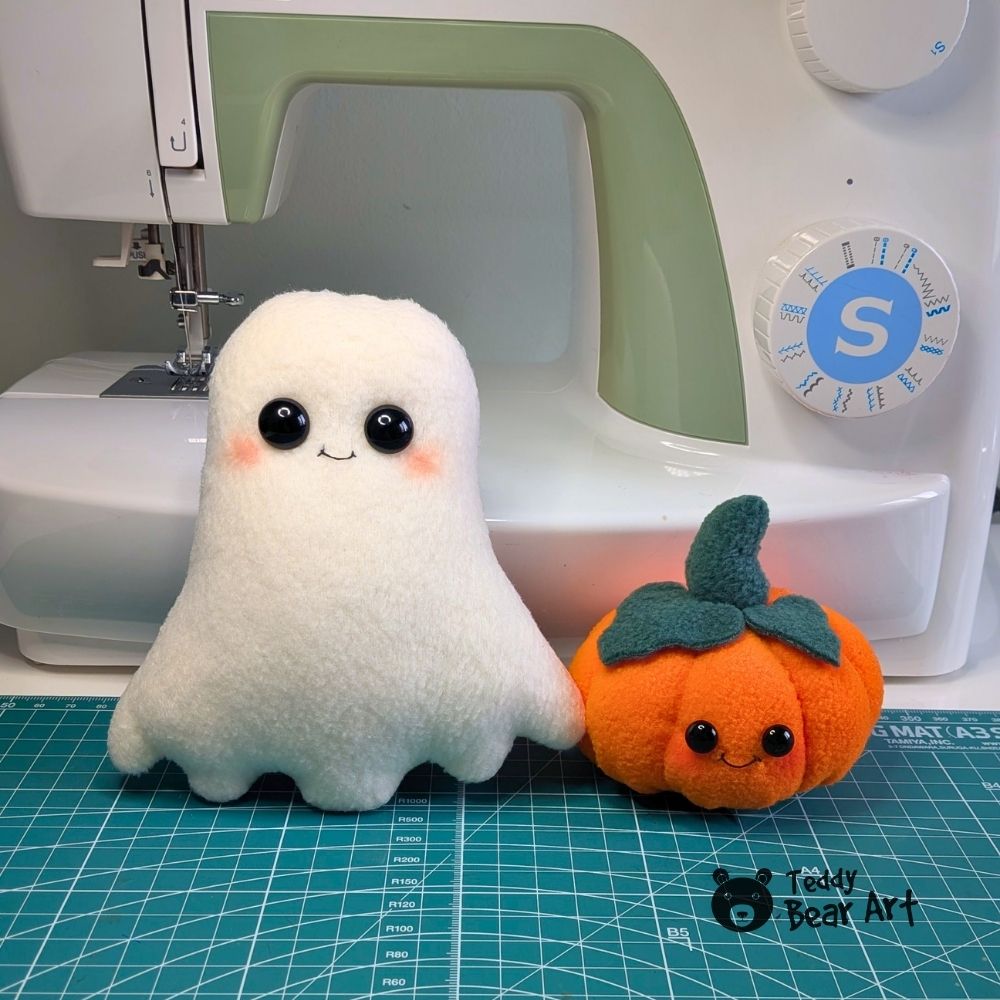
You can find my free pumpkin tutorial here:
FAQ
Is this ghost plushie sewing pattern good for beginners?
Yes, it is very beginner-friendly. I would say it is the simplest pattern on this website.
Can I sew this ghost plushie by hand?
Yes. Use a small backstitch around the ghost shape, then turn, stuff, and close the opening by hand.
What fabric is best for this ghost plush?
White fleece is the easiest choice. Soft plush, minky, or microfiber fabric can also work.
Before You Go
This little ghost is quick, soft, and easy to personalize. Make one plain, make one with a witch hat, or sew a few ghosts in different sizes for a tiny handmade Halloween family.
If you enjoy simple seasonal sewing projects, this ghost plush is a lovely one to start with.
You may also like this cute bat plushie made in the same style as the ghost and the pumpkin:
Get Free Patterns & Be the First to Know!
Want free teddy bear patterns, exclusive tutorials, and a chance to win craft supplies?
Sign up for our newsletter using the subscribe form in the middle of this article to receive new patterns, insider tips, and the latest news on teddy bear art. You’ll also automatically be entered into our annual giveaway for a chance to win teddy bear crafting materials.
Bonus entry: Save one of our pins on Pinterest to increase your chances of winning!
Let’s create, inspire, and craft beautiful teddy bears together!
Tysm!! Yes, this is exactly what i was looking for. Already saved it for my halloween crafting mood because i know i’m gonna want to make this the second fall starts lol. It looks so cute and actually doable too, which i love because some plush patterns scare me before i even begin ))) The little hat and scarf are adorable. i might make a few in different sizes because one tiny ghost is definitely not going to be enough!!
I’m so happy you like it. It’s a really easy and fun little project, so a whole ghost family sounds like the perfect idea! I’d love to see them when you make them.
Hello Hanna,
These are so cute! I think I would make the white one exactly like you did the first time, but after that I would probably start playing around with it. I can picture making a few in different colors and giving them all different faces. Maybe one grumpy one, one happy one, and one that just looks completely confused lol. This actually looks like something that would be fun to make a bunch of around Halloween, especially because the pattern doesn’t look too intimidating.
Have you tried making them in any colors besides white yet?
Angela M 🙂
Hi Angela,
Thank you! I love your idea of giving each ghost a different expression. A grumpy one, a happy one, and a confused one would make such a fun little Halloween group.
I haven’t really experimented with other colors because I personally prefer the classic white ghost look, but changing the faces and small details already gives plenty of room to make each one different.