
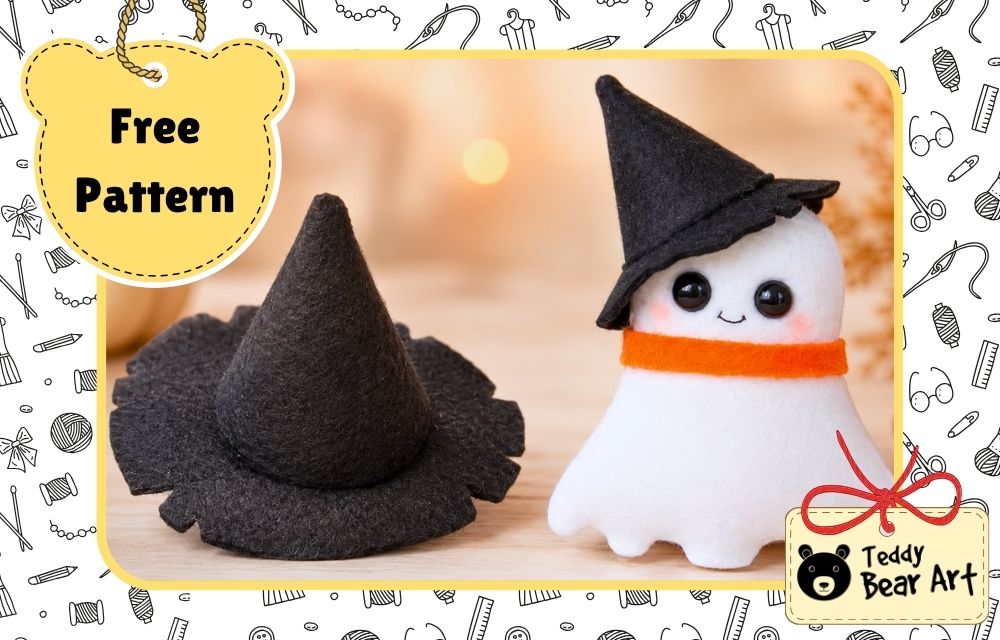

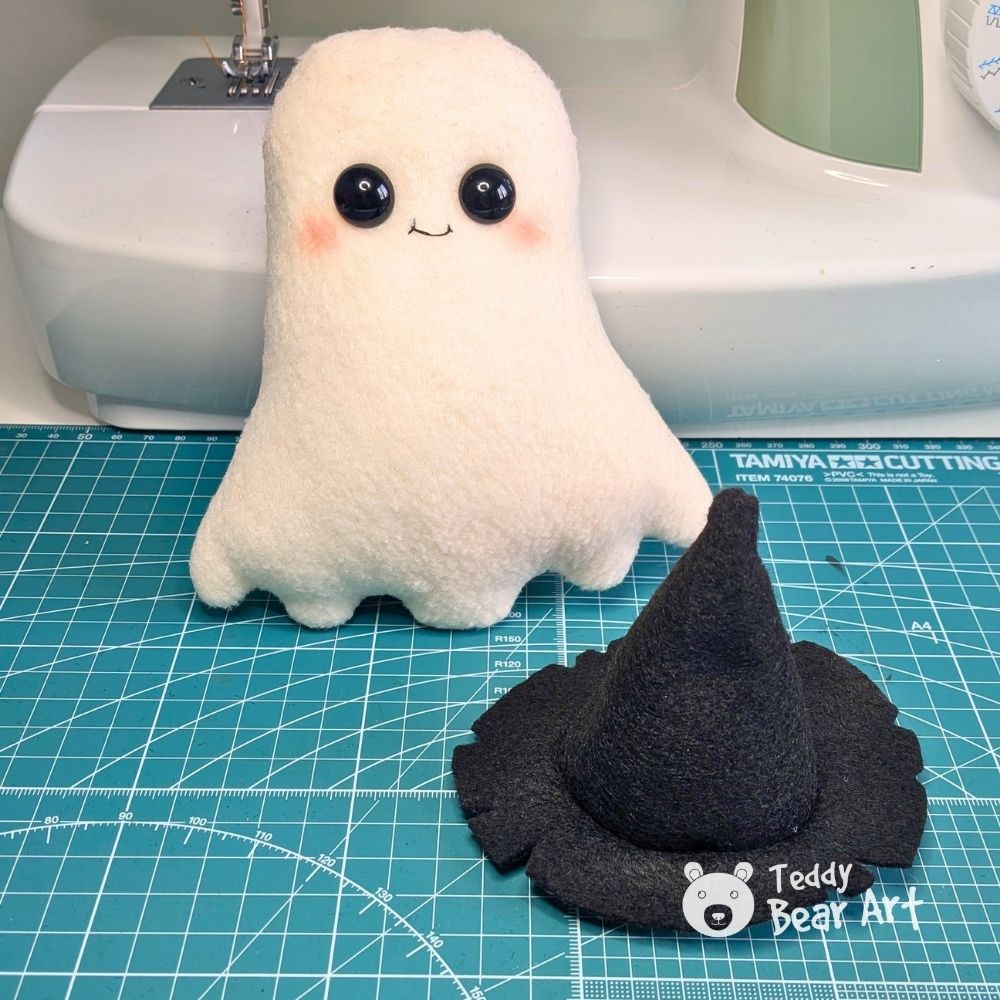
This wizard hat pattern for stuffed animals is a quick way to add a little Halloween magic to a favorite plushie. I made the black felt hat for my ghost plush, but the same design can be used for teddy bears, bunnies, dolls, and many other small toys.

The hat has only two pattern pieces and can be sewn completely by hand. There are no complicated curves to join, no lining, and no special equipment. The slightly bent point and uneven brim give it a charming, handmade look, so it does not need to be perfectly stiff or symmetrical.
Download The Pattern
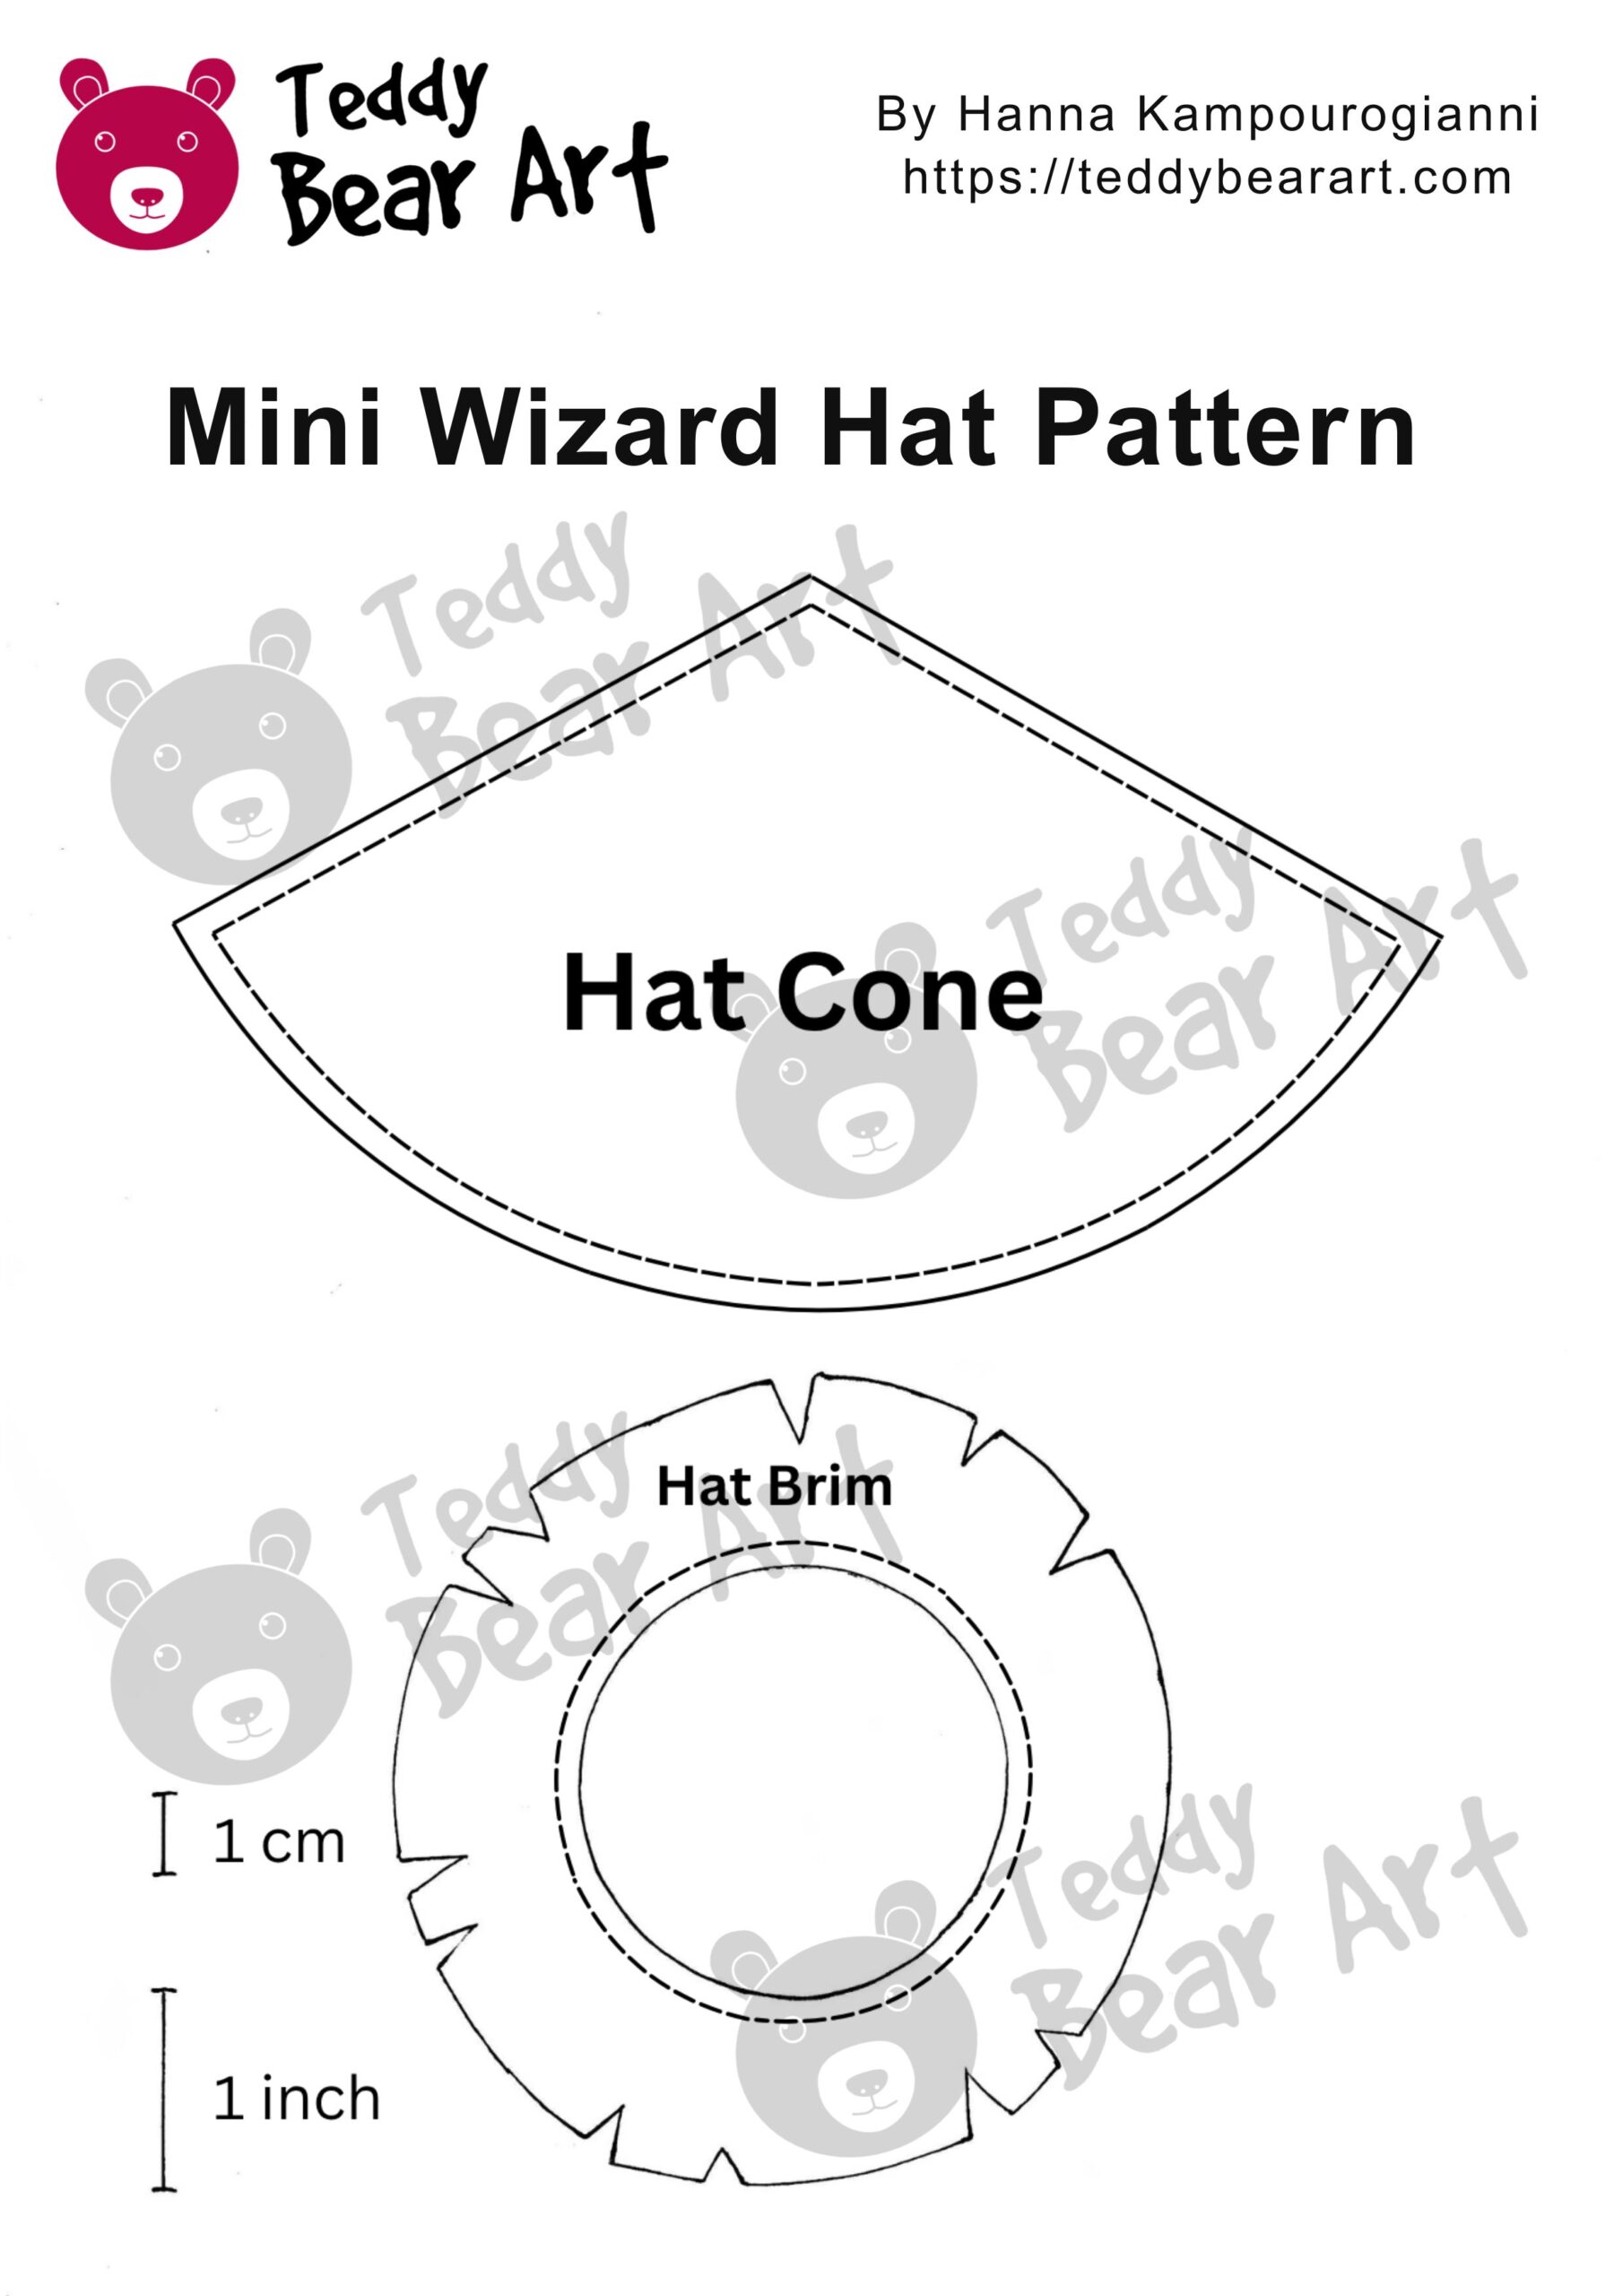
Notice that seam allowances are included.
To download the pattern, follow the instructions below:
From a phone or tablet: There should be a similar option for mobile devices with Android or iOS. Click on the image. Save it by holding your finger on the image and selecting the “Save Image” option. Then, go to your photo gallery and print it (an option available).
From a computer: Click on the photo of the pattern you see below. In the new tab that will open, you press the right mouse button and select the “Save image as …” option. Then, you choose where the image will be saved on your computer.
Materials
- Black felt fabric
- White pen
- Sewing needle
- Black sewing thread
- Scissors
How to Sew the Wizard Hat
Trace one hat cone and one hat brim onto the black felt.
Cut slowly around the shapes, especially around the pointed top and the decorative edge of the brim. Cut out the circular opening in the center of the brim as neatly as possible.
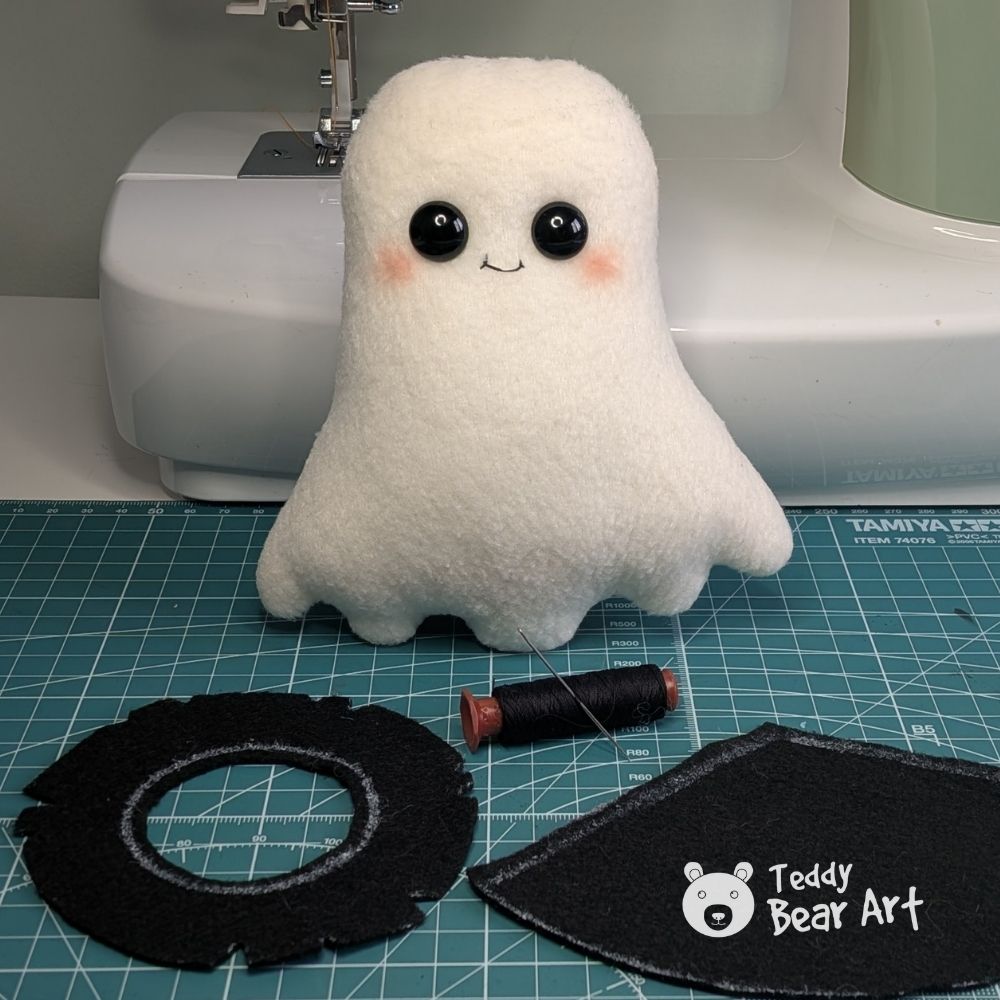
Bring the two straight side edges of the cone together. Make sure the white pen markings remain on the inside of the hat.
Sew the side seam with small backstitches or running stitches. Begin at the wide lower edge and continue toward the pointed top. Keep the stitches close together so the seam does not open when you shape the hat.
Tie the thread securely and turn the cone right side out. Use the blunt end of a pencil or a closed pair of scissors to gently push out the tip. Do not press too hard, since the point does not need to be perfectly sharp.
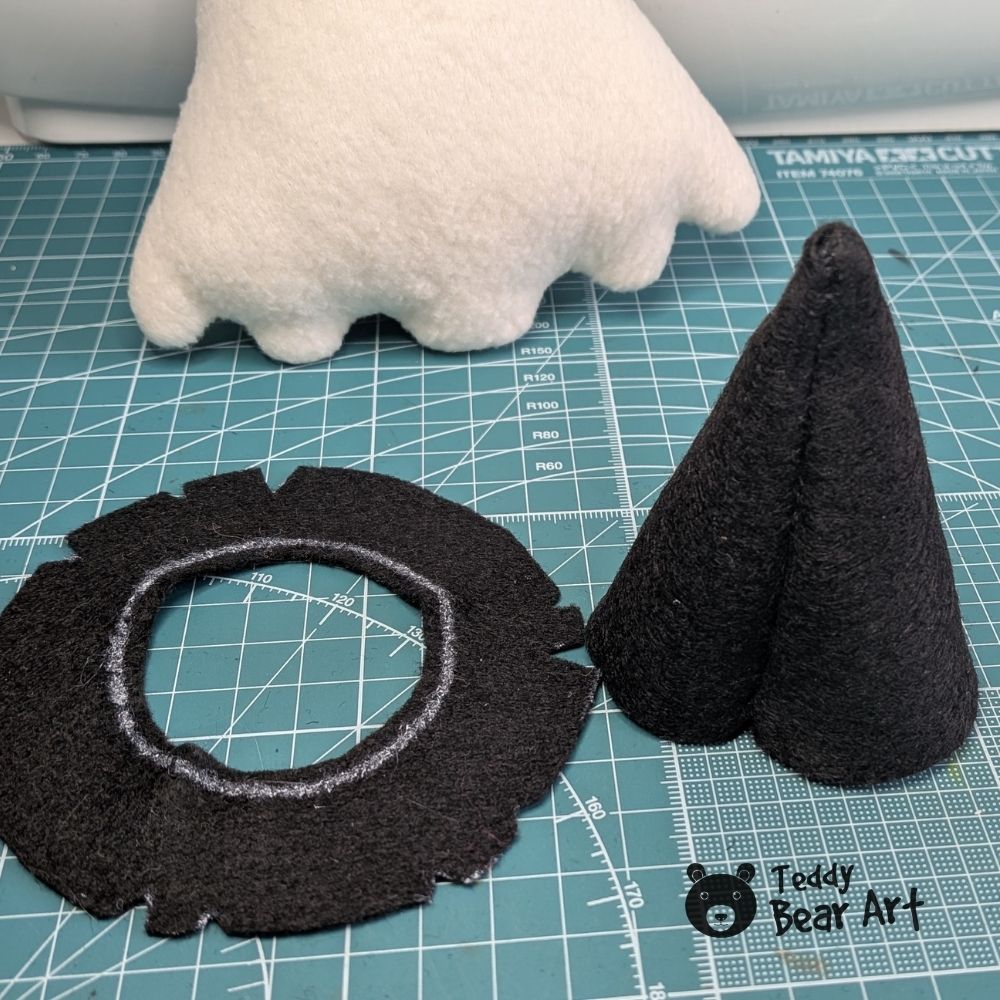
Place the lower edge of the cone inside the circular opening of the hat brim. Match the edges.
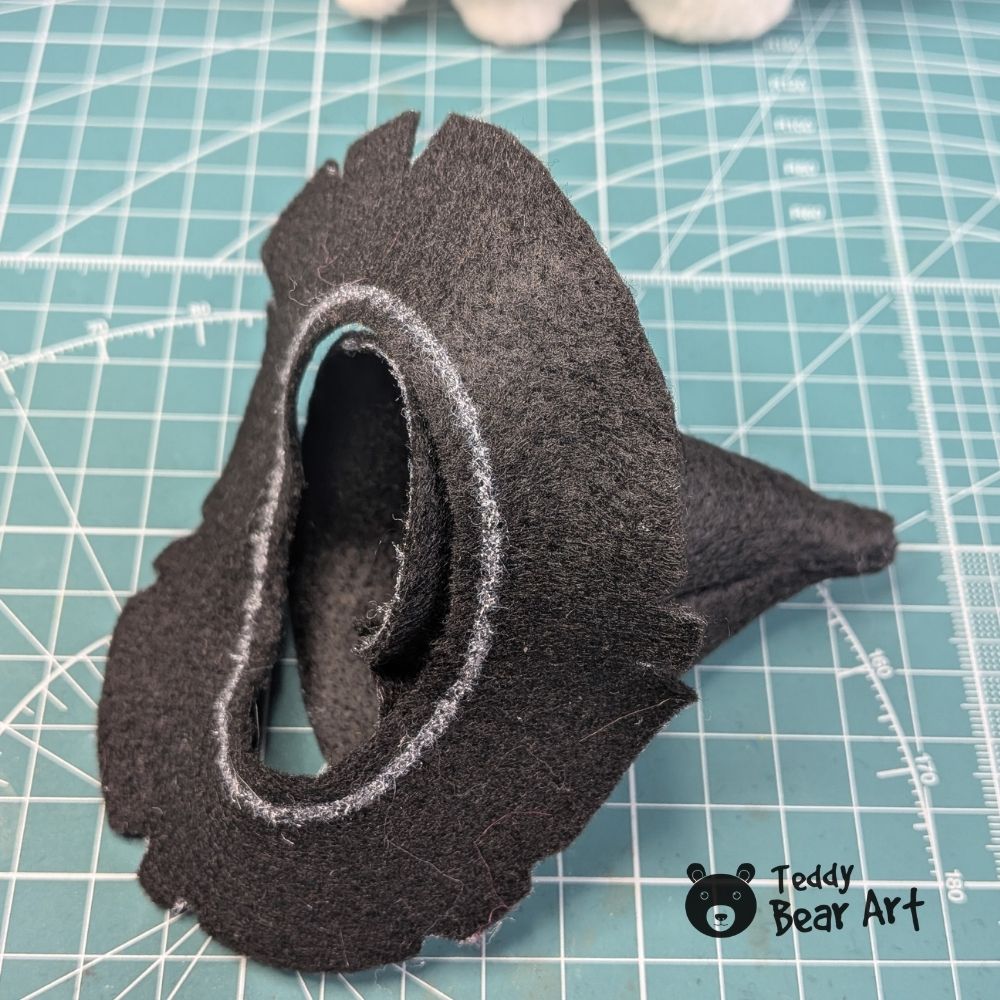
Sew around the opening using small whip stitches. Take your time around the circle and adjust the felt as you work. Felt can stretch slightly, so avoid pulling the thread too tightly.
When you reach the starting point, secure the thread with a knot and hide the end inside the hat.
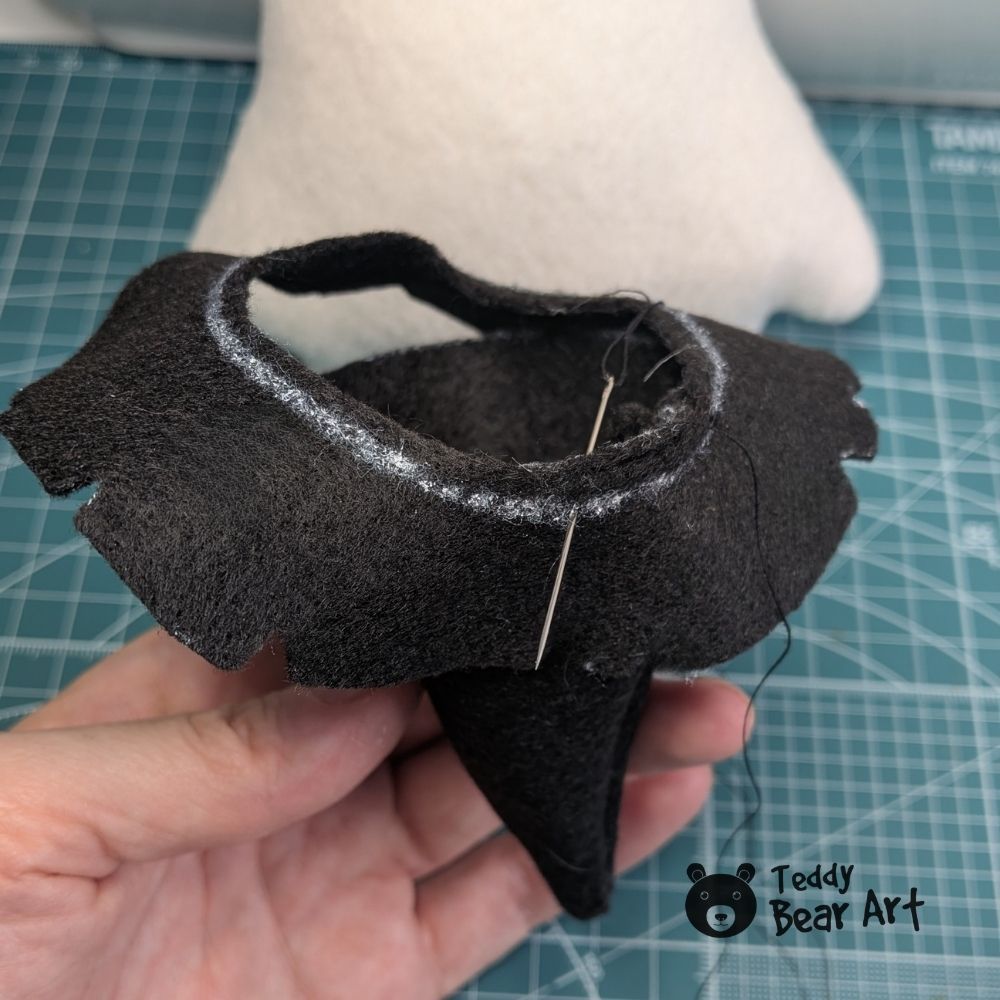
Gently bend the top of the cone to one side. You can also pinch the felt in one or two places to create soft folds.
Do not try to make every edge perfectly smooth. A slightly crooked cone and wavy brim make the finished wizard hat look much more playful.
FAQ
What is a backstitch?
A backstitch is a strong hand-sewing stitch that creates a neat, continuous line. It is useful for sewing the side seam of the wizard hat because the stitches hold the felt edges firmly together. You can watch my video below to see exactly how I make it.
What fabric is best for a mini wizard hat?
Felt is the easiest choice because it holds its shape and does not fray. Fleece fabric also works well.
Before You Go
Once you understand how to use this wizard hat pattern for stuffed animals, it needs a cute character to wear it. You may also like my free ghost plushie sewing pattern, featuring the same little ghost shown in these photos. It is a quick Halloween project and looks especially charming with the finished wizard hat.
You can also make a tiny magic wand from a trimmed wooden skewer to match the mini wizard hat.
Get Free Patterns & Be the First to Know!
Want free teddy bear patterns, exclusive tutorials, and a chance to win craft supplies?
Sign up for our newsletter using the subscribe form in the middle of this article to receive new patterns, insider tips, and the latest news on teddy bear art. You’ll also automatically be entered into our annual giveaway for a chance to win teddy bear crafting materials.
Bonus entry: Save one of our pins on Pinterest to increase your chances of winning!
Let’s create, inspire, and craft beautiful teddy bears together!
This is so cute! I’ve been looking for a tiny hat pattern for one of my little bears and this looks much easier than the other ones I found. I love that it can be decorated in so many different ways too. I’m thinking of making mine in dark blue felt with a few tiny stars on it. Would fleece work for this pattern as well, or would it be too soft to keep the shape?
Fleece probably wouldn’t work very well for this pattern. It would be difficult to make the decorative cuts look neat, and if you enlarge the hat, the fleece may be too soft to hold its shape. Felt is definitely the better choice for this project.
I made this little wizard hat for one of my stuffed animals, and I am so happy with how it turned out! The pattern was easy to follow, and the hat came together much faster than I expected. It looks absolutely adorable and fits my plush perfectly. I especially liked that the project did not require much felt or complicated sewing skills. I just wanted to leave a positive review and say thank you for sharing such a lovely free pattern. I will definitely be making more hats for my other stuffed animals!
Thank you so much for your lovely feedback, Nick! Your kind words really mean a lot to me, and I hope you enjoy making a few more hats for your other plush friends too!